The Honeywell VisionPRO 8000 is a smart thermostat designed for efficient temperature control. Proper installation is essential to ensure functionality and safety. Follow the manual carefully.
1.1 Overview of the Honeywell 8000 Thermostat
The Honeywell VisionPRO 8000 is a touchscreen programmable thermostat designed for residential use, offering advanced temperature control and energy efficiency. It supports multiple heating and cooling stages, including heat pumps, and is compatible with various HVAC systems. Features include a backlit display, programmable schedules, and smart home integration via RedLINK technology; It is known for its user-friendly interface and ability to optimize energy usage, making it a popular choice for modern homes.
1.2 Importance of Proper Installation
Proper installation of the Honeywell VisionPRO 8000 thermostat is critical to ensure safe and efficient operation. Improper wiring or setup can lead to system malfunction, energy inefficiency, or even safety hazards. Following the installation manual carefully is essential to avoid damaging the thermostat or causing hazardous conditions. A correctly installed system ensures optimal performance, energy savings, and reliability. Always have a trained technician perform the installation if you are not experienced.
System Requirements and Compatibility
The Honeywell VisionPRO 8000 is compatible with most HVAC systems, including heat pumps and conventional systems. It requires a 24VAC power supply for optimal functionality and connectivity.
2.1 Compatible HVAC Systems
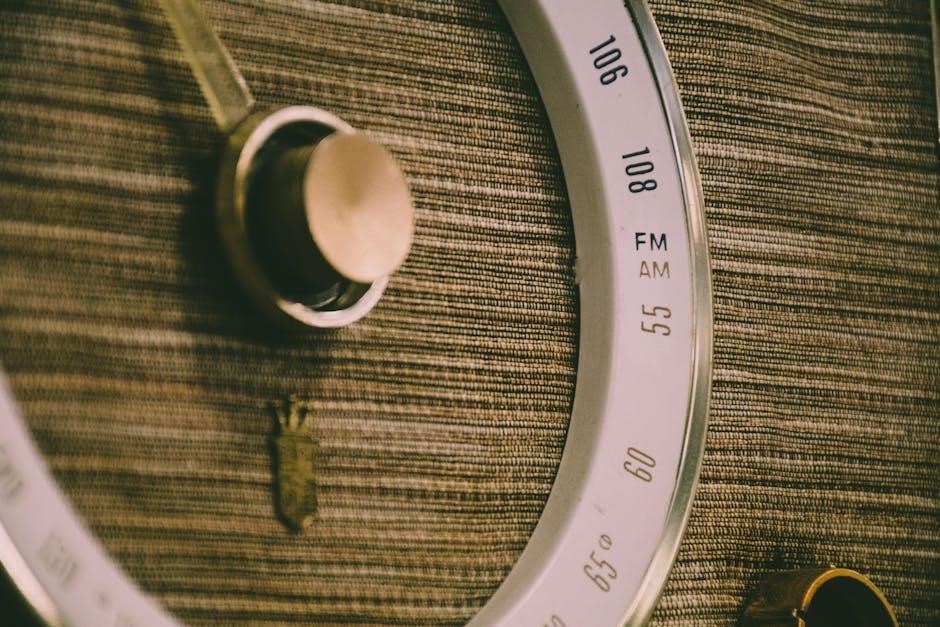
The Honeywell VisionPRO 8000 is compatible with various HVAC systems, including single-stage and multi-stage heating and cooling systems. It supports heat pumps, conventional forced air systems, and hydronic heating. The thermostat can handle up to 3 Heat/2 Cool stages for heat pumps and up to 2 Heat/2 Cool stages for conventional systems. Proper system compatibility ensures efficient temperature control and energy savings; Always verify system specifications before installation to avoid operational issues.
2.2 Electrical Requirements
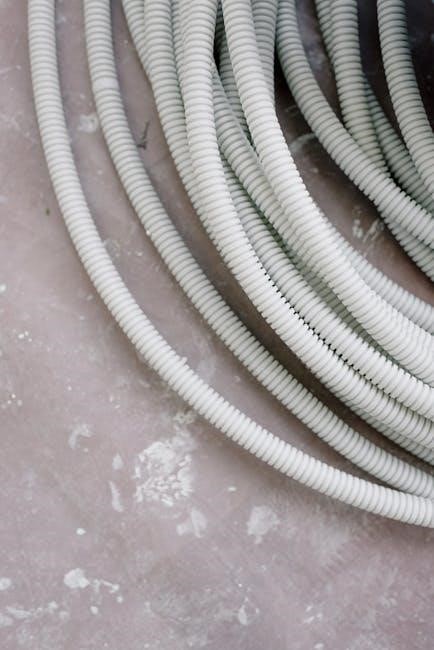
The Honeywell VisionPRO 8000 requires a 24VAC power supply for proper operation. A common wire (C-wire) is necessary for continuous power, enabling features like the backlight and Wi-Fi connectivity. Ensure all wiring matches the system’s specifications to avoid damage or safety risks. Proper electrical connections are critical for optimal functionality and advanced features like multi-stage heating and cooling. Follow the manual’s guidelines for safe and correct installation.

Tools and Materials Needed
Essential tools include a screwdriver, drill, and voltage tester. Required materials are wires, screws, wall anchors, a level, and labels for wiring organization.
3.1 Essential Tools for Installation
Essential tools include a screwdriver, drill, voltage tester, pliers, and wire strippers. A level ensures proper mounting, while labels and a marker help organize wiring connections. A ladder or step stool may be needed for high walls. Additionally, a multimeter can verify electrical connections. Always refer to the manual for specific requirements, as some installations may demand additional tools for precise setup and safety.
3.2 Required Materials
Required materials include wall anchors, screws, and labels for wiring organization. A C-wire may be needed for power if not already present. Ensure compatibility with your HVAC system and verify if additional components like a wallplate are necessary. Refer to the manual for specific material requirements to ensure a seamless installation process and proper functionality of the thermostat.

Pre-Installation Steps
Disconnect power and read the manual thoroughly. Prepare the thermostat by ensuring all components are included. Understand terminal designations to avoid wiring errors. Unlock installer options using the date code found in Dealer Information for proper setup.
4.1 Preparing the Thermostat
Start by separating the thermostat from the wallplate. Review the installation manual to understand the setup process. Unlock installer options using the date code found in Dealer Information. Ensure all components are included and compatible with your HVAC system. Disconnect power before beginning work to avoid electrical hazards. Familiarize yourself with terminal designations to ensure correct wiring connections. Proper preparation ensures a smooth and safe installation process.
4.2 Understanding Terminal Designations
Terminal designations are critical for correct wiring. The R terminal provides system power, while Rc and Rh are used for cooling and heating, respectively. Ensure proper connections to avoid malfunctions. Refer to the manual for specific wiring diagrams and terminal functions. Correct terminal wiring ensures safe and efficient operation of the Honeywell 8000 thermostat. Always verify connections before powering up the system to prevent electrical hazards or damage.
Installation Process
The installation involves mounting the thermostat, connecting wires to the correct terminals, and securing the device. Follow the manual for step-by-step guidance to ensure proper setup.
5.1 Mounting the Thermostat
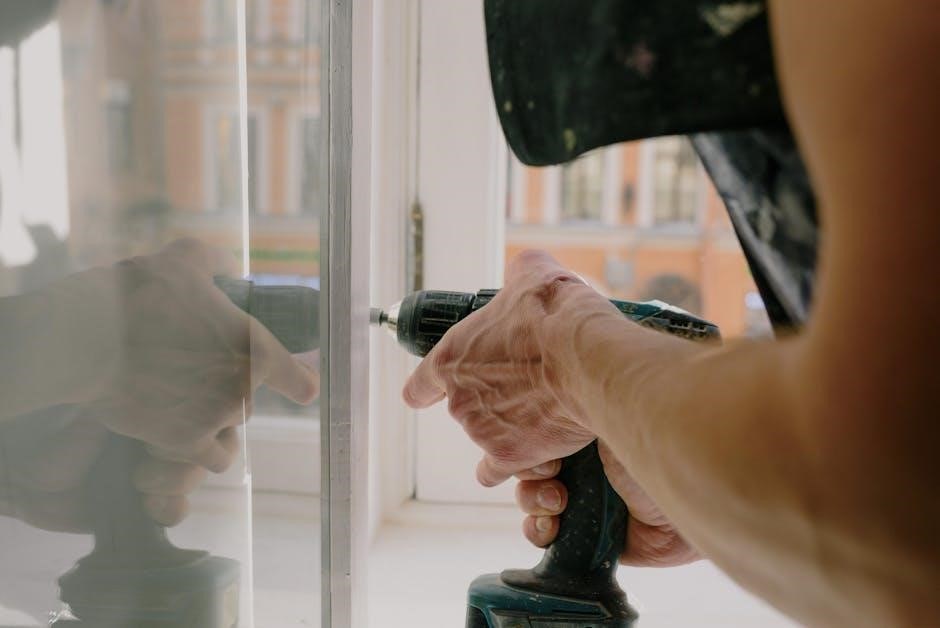
Begin by separating the wallplate from the thermostat. Drill pilot holes in the wall, ensuring they are level. Mount the wallplate securely, then attach the thermostat, making sure it is straight and firmly fastened. Follow the manual for precise alignment and tightening instructions to ensure proper installation and functionality.
5.2 Wiring Connections
Disconnect power before starting. Connect the wires to the appropriate terminals on the wallplate, following the terminal designations (R, C, W, Y, G, etc.). Ensure all connections are secure and match the system requirements. Refer to the manual for specific wiring configurations. After completing the connections, turn the power back on and test the thermostat to confirm proper functionality.
5.3 Securing the Thermostat
After wiring, separate the wallplate from the thermostat. Attach the wallplate to the wall using screws. Snap the thermostat into place, ensuring it clicks securely. Tighten any additional clips or screws to hold it firmly. Check for stability and ensure the thermostat is level. Verify all connections are secure and the thermostat is properly seated. This ensures reliable operation and prevents damage to the device.
Post-Installation Setup
Access the Menu to unlock Installer Options. Use the Date Code as the password to configure system settings and ensure proper thermostat functionality.
6.1 Unlocking Installer Options
To unlock the Honeywell VisionPRO 8000 thermostat, navigate to the Menu, select Dealer Information, and locate the Date Code at the bottom. This code acts as the password for accessing Installer Options. Enter the Date Code when prompted to unlock advanced settings and configure the system for optimal performance. This step ensures proper functionality and allows customization of thermostat operations.
6.2 Configuring System Settings
After unlocking installer options, configure system settings such as changeover mode, backlight preferences, and dehumidification settings. Ensure the thermostat is set to match your HVAC system type, whether it’s a heat pump or conventional system. Adjust settings like heat and cool differential temperatures for efficiency. Proper configuration ensures the thermostat operates in harmony with your HVAC system, optimizing comfort and energy savings. Refer to the manual for detailed instructions.
Testing the System
Testing the system ensures proper operation. Verify thermostat functionality by checking heating and cooling cycles. Confirm temperature accuracy and system responsiveness to thermostat commands.
7.1 Verifying Thermostat Operation
After installation, verify thermostat operation by accessing the menu and confirming settings. Use the date code as the password for installer options. Test heating and cooling functions to ensure proper system response. Check temperature accuracy and cycle operation. Refer to the manual for detailed testing procedures to confirm all features are functioning correctly.
7.2 Checking Heating and Cooling Functions
Test heating by selecting the mode and raising the setpoint. Ensure the system activates and reaches the target temperature. Repeat for cooling by lowering the setpoint. Verify smooth transitions between modes. Check for consistent operation and proper cycling. Address any issues promptly to ensure reliable performance and efficiency. Refer to the manual for troubleshooting common issues during function checks.
Advanced Features and Customization
The Honeywell 8000 offers smart home integration, scheduling, and energy-saving features. Customize settings for optimal performance and efficiency with advanced options like RedLINK technology for enhanced control.
8.1 Smart Home Integration
The Honeywell VisionPRO 8000 integrates seamlessly with smart home systems, enabling voice control and remote management through platforms like Amazon Alexa. This connectivity allows users to adjust settings, receive alerts, and optimize energy usage effortlessly. The thermostat’s Wi-Fi capabilities ensure compatibility with various smart devices, enhancing home automation and convenience for a modern lifestyle.
8.2 Scheduling and Energy Saving Features
The Honeywell VisionPRO 8000 offers advanced scheduling options, allowing users to create custom temperature programs. Energy-saving features include automatic changeover and geofencing, which adjust settings based on location. These functions help reduce energy consumption, lowering utility bills while maintaining comfort. The thermostat also provides reminders for system maintenance, ensuring optimal performance and efficiency over time.
Troubleshooting Common Issues
Identify common problems like wiring errors or connectivity issues. Check connections, restart the thermostat, and ensure proper setup. Refer to the manual for detailed solutions.
9.1 Common Installation Mistakes
Common mistakes include incorrect wiring connections, failure to follow terminal designations, and improper system compatibility checks. Ensure the HVAC system matches the thermostat’s requirements. Always disconnect power before starting installation to avoid electrical hazards. Misaligning the thermostat on the wallplate or skipping steps in the manual can lead to malfunctions. Double-check all connections and settings to prevent issues. Proper tools and materials are essential for a successful installation.
9.2 Resolving Connectivity Problems
Ensure the thermostat is connected to the correct Wi-Fi network. Restart the thermostat and router if connectivity issues arise. Verify the Date Code password is entered correctly during installer setup. Check for firmware updates and ensure the system is compatible with your network settings. If issues persist, consult the installation manual or contact Honeywell support for assistance. Proper connectivity is crucial for smart features to function effectively.

Safety Precautions and Best Practices
Always disconnect power before installation to avoid electrical hazards. Follow local safety standards and ensure proper grounding. Refer to the manual for specific precautions and guidelines.
10.1 Safety Guidelines
Always disconnect power before starting installation to prevent electrical shock. Use appropriate tools and follow local safety codes. Ensure the thermostat is properly grounded. Avoid installing near flammable materials and keep the area clear. Follow the manufacturer’s instructions for handling wires and components. Wear protective gear if necessary. Failure to adhere to these guidelines may result in damage or hazardous conditions. Proper safety practices ensure a safe and efficient installation process.
10.2 Maintenance Tips
Regularly clean the thermostat screen and sensors to ensure accurate temperature readings. Inspect wires for damage or wear and replace them if necessary. Update the firmware periodically to maintain optimal performance. Replace batteries annually or as indicated by low-battery alerts. Check the system filters and ensure proper airflow for efficient operation. Schedule annual professional maintenance to verify wiring and system compatibility. Proper upkeep extends the thermostat’s lifespan and ensures reliable functionality.
The Honeywell 8000 installation process ensures efficient temperature control and system compatibility. Proper setup, testing, and maintenance are crucial for optimal performance. Refer to resources for further assistance.
11;1 Final Checks
After installation, perform final checks to ensure the Honeywell 8000 operates correctly. Verify all wiring connections, test heating and cooling functions, and confirm Wi-Fi connectivity. Check the thermostat’s display for proper function and ensure all programmed settings are active. Review the manual for any additional tests or setup requirements. Proper operation ensures energy efficiency and comfort. Additionally, ensure all safety precautions are followed.
11.2 Resources for Further Assistance
For additional support, refer to the Honeywell VisionPRO 8000 installation manual available online. Visit Honeywell’s official website for downloadable PDF guides, troubleshooting tips, and customer support contact information. You can also access video tutorials and FAQs for resolving common issues. Registered users can benefit from exclusive resources and updates, ensuring optimal use of their thermostat. These resources are designed to provide comprehensive assistance beyond the initial setup.